Wednesday, September 10, 2014

Halloween Treat Legs & All Season Thank yous!

Boring title, I know. NOT boring projects though. Maybe they used up all my creativity for the week. Or maybe my brain has given up knowing that vacation is 3 days away. Hallelujah! Or MAYBE it's because I stayed up until 11:30 hanging out with the girls (which sounds so early to my younger self)! It IS possible that the answer is D- all of the above.

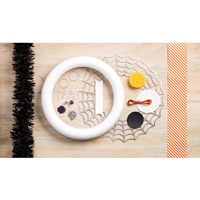
So the Wreath Event has now taken place! (But don't worry, you CAN still buy the wreath kit!) The plan was to also make these cute witch leg treats, but we just had so much fun we ran out of time! So that will be my little gift to the attendees. 
Product List
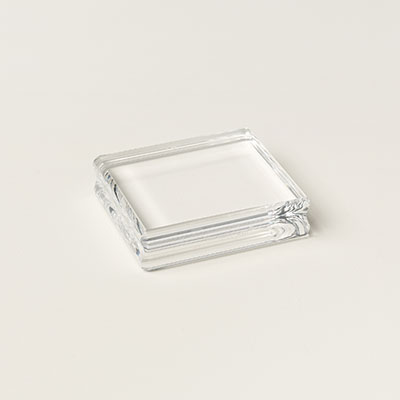
Heat Tool
$29.95
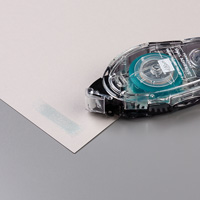
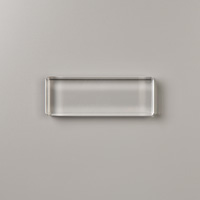
Sticky Strip
That AND a little thank you. I was totally taken by surprise when Nikki asked if my cards were for sale. What? MY cards? Sure you can buy them! So people actually use these things? They don't just collect them? Just kidding. I really do send an occasional card or two. It's just that I also MAKE an occasional card or fifty. haha.


Product List (and yes I did use retired ribbon dang it! I love that stuff!)

Product List
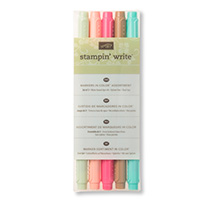
2013-2015 In Color Core'dinations
$11.95

Tuesday, September 2, 2014

Cartwheel Santa!

Yep, Christmas, Halloween, Christmas, Halloween. That's how we roll around here. Speaking of rolling... today I made the BEST. CARD. EVER.

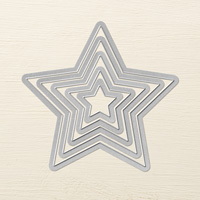
When I saw this cute Get Your Santa On stamp set (and that star border punch! Dying!) at convention, I knew I was buying that! So, I usually just CASE cards, (and for those of you who aren't in the card world, that means Copy and Share with Everyone-- although I say copy and steal everything!) but all the cards pretty much looked the same for this cute set. So, I thought Santa needed something FUN. I mean, it's SANTA. So I came up with this... (you HAVE to watch the video!)

I also want you to notice the words stamped behind Ol' St. Nick there. One of the cool things about the photopolymer stamps is that you can bend them and stick them on the acrylic blocks. So, I cut the words above Santa's head off and stretched them into a line, et voilĂ !


You can't even imagine how hard it was to get a video of Santa in action without his little helpers jumping in. This was the best take:

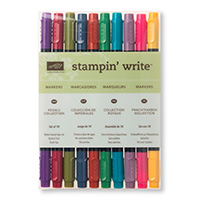
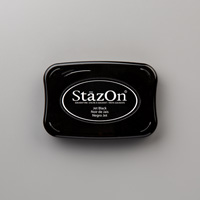
I could do a fancy tutorial for you, but all you have to do is search "spinner cards" and you'll find something. Let's just say, all you need are 2 pennies, 2 dimensionals sticking them together through the card, and then don't forget to pop the card up with 2 dimensionals in each corner, plus on the sides. (It makes it spin better that way.) Here are the other supplies I used (please note I didn't have the blendabilities, which would have looked even BETTER! So get those with the memento ink instead of just the regals markers and stazon, which are also fun. haha!) Also, when you sign up for Paper Pumpkin you get the D block! And if you do that before the 10th you get 50% off for TWO MONTHS! (Check out the previous post for more info, or just click on the top right corner of the blog!):

Product List

Monday, September 1, 2014

Let the Halloween festivities begin!

I do realize that I mentioned blogging about this awesome wreath nearly 3 weeks ago. I have no idea where the time goes! So, better late than never, here's my Halloween wreath that has been hanging proudly since the beginning of August. Don't be a hater. It needs to get as much time in as possible since I decorate for Christmas the day after Halloween. (Are you even surprised?) I guess I could just go with a Nightmare Before Christmas theme, decorate the beginning of August and leave it up until St. Patrick's Day... but where's the fun in THAT?


Product List

Sunday, August 31, 2014

Technique: Embossed Kissing

Sounds fun right? Haha! I made a bunch of swatch cards for a SWAP at an event in Austin using the "Embossed Kissing" technique. All you have to do is ink up a stamp (a solid design works best, like this paint swish from "Work of Art")


Then ink up an embossing folder (one of my FAVORITE tools! So versatile!).


Then you stamp onto the embossing folder (this is the kiss)


then stamp the paper! Super easy!


Here's a fun but simple card:


A few things I discovered (in no particular order):
*Using darker ink on the embossing folder and lighter ink on the stamp works a little better, but look! I did the opposite and it still worked! :D
*Get your ink just right for best results. Not too wet, not too dry... especially on the embossing folder. If you have excess ink on the background it can transfer to the stamp, depending on how hard the kiss is. ;) which leads to the next tip:
*In the words of John Keats: Now a soft kiss, aye by that kiss, I vow an endless bliss.
 (Just stamp lightly on the embossing folder for best results.)

A few Halloween cards...and a little pumpkin or two.


This first little pumpkin is my sweet little helper. Both kids love to "help". And doesn't everyone have their favorite tools? His is obviously the rotary paper cutter. He's fascinated by the scallop and zig-zag blades. 
 

 This second pumpkin is the most recent Paper Pumpkin kit. I'll post pictures of the completed cards, but it might take me 3 weeks. Actually, because EVERYTHING you need is included in the kit, it's easy to grab the box and go. I might have to bring this on vacation with me. So, yes, I'll post the finished product in about 3 weeks.

 If you like Halloween at all (and you must if you're still reading this, considering the last few posts have been about Halloween) you will FOR SURE want to sign up for Paper Pumpkin before September 10th! The next kit is all kinds of Halloween AWESOME. Seriously. Might be my favorite pumpkin so far! If you go to mypaperpumpkin.com, choose me (Krystal Roberts) as your demo and enter the code HALFOFF2 You'll get 50% off your first two months (which makes them about 10 bucks! and you can cancel ANYTIME). Wait are you waiting for?! GO!!! Get your pumpkin on!!!